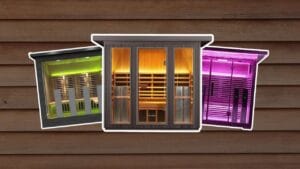
Building a home sauna may seem daunting, but with some planning and basic DIY skills you can create your own relaxing retreat. Home saunas are more popular than ever – and for good reason. Regular sauna sessions offer many health benefits – from muscle recovery and stress relief to better sleep and detoxification. Having a sauna in the comfort of your home means you can enjoy these benefits anytime.
This guide will walk you through the essential steps to plan and build a traditional dry sauna in your house (or backyard) using simple, practical language. Let’s get started!
Planning Your Home Sauna
Before grabbing your tools, take time to plan your sauna. Consider these key factors:
Location & Size
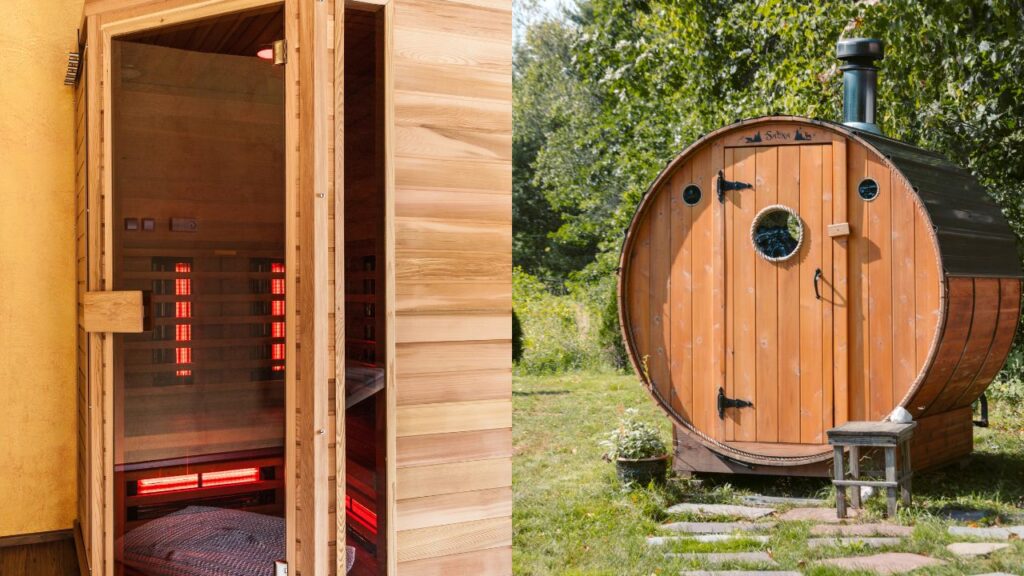
Decide where to build your sauna and how big it should be. You can convert an indoor space (like part of a basement, bathroom, or large closet) or build an outdoor sauna (a small shed or a pre-made barrel sauna in the backyard). Indoors is convenient and often easier for electrical access, while outdoors offers a traditional feel but needs a weatherproof structure and solid foundation.
Consider how many people will use it – a compact 4×4 ft sauna can fit 1–2 people, while a 6×8 ft sauna might seat 4. Plan the layout (benches and heater placement) and ensure you include ventilation (an inlet vent near the floor and an outlet vent high on the opposite wall) for airflow
Sauna Type
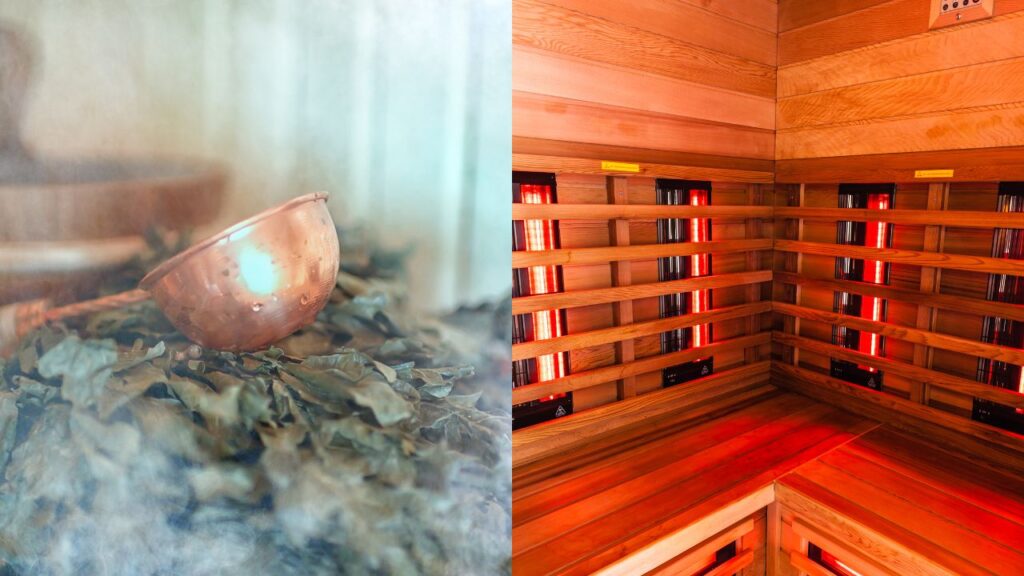
Will you build a traditional dry sauna or use an infrared sauna kit? Traditional Finnish-style saunas use a heater (electric or wood-burning) to heat the air and sauna stones, allowing you to splash water for steam. Infrared saunas use radiant heaters that warm your body directly at lower air temperatures (no water needed).
Each has pros and cons, so pick what suits you best. For a detailed comparison of traditional vs. infrared vs. steam saunas, check out this guide. You could also consider a prefabricated sauna kit that comes with all the components ready to assemble (an easier but pricier option).
Heater & Power
Choose your heat source. Electric heaters are the most popular choice (simple and quick to heat). Wood-burning stoves offer a traditional touch for an outdoor sauna but require a chimney and extra safety precautions. An electric sauna heater is generally simplest for indoor builds, though it will need a dedicated 240V circuit.
Wood heat works off-grid and gives authentic ambiance, but you’ll need to install stovepipe venting and keep fire safety in mind. Plan for the heater early because you may need an electrician to run wiring or a chimney for a wood stove. Always follow the manufacturer’s requirements for power supply and placement.
Materials to Use
Choosing the right materials is one of the most important parts of building a sauna. Using the wrong wood, flooring, or fasteners can cause warping, mold, or safety issues down the line. Traditional saunas need natural, untreated wood that can handle high heat and moisture, along with durable flooring and rust-proof fixtures.
Below is a breakdown of the materials you’ll need depending on whether you’re building an indoor or outdoor sauna, along with the small but essential items that people often forget.
| Category | Material | Details & Notes |
|---|---|---|
| Core (Indoor & Outdoor) | Wall & Ceiling Wood | Cedar (best, rot-resistant, aromatic), Spruce, or Pine. Always use untreated softwood. |
| Insulation | Fiberglass or mineral wool batts (R-13 to R-19). Keeps heat in and reduces energy waste. | |
| Vapor Barrier | Foil-faced barrier sheets sealed with foil tape. Locks in heat and blocks moisture. | |
| Flooring | Sealed concrete, tile, or cedar duckboards/slats. Must be waterproof and safe when wet. | |
| Fasteners | Stainless steel screws, galvanized or stainless nails. Rust-proof for humid conditions. | |
| Indoor Sauna | Framing Lumber | Standard 2x4 timber for walls and ceiling support. |
| Wall Backing | Cement board or marine-grade plywood, installed behind vapor barrier if needed. | |
| Electrical Setup | 240V wiring, GFCI breaker, heat-rated lights. Must be installed by an electrician. | |
| Sauna Door | Insulated wood or tempered glass door with heat-resistant handle. Opens outward for safety. | |
| Outdoor Sauna | Foundation | Pressure-treated timber, deck blocks, or concrete slab for stability. |
| Exterior Walls | Cedar shingles, cladding, or outdoor-rated panels. Add exterior sealant/stain (outside only). | |
| Roofing | Asphalt shingles, corrugated metal, or cedar shakes. Must be fully weatherproof. | |
| Wood Stove Setup | Stainless steel chimney kit with flashing, plus non-combustible stove base (tile, stone, concrete). | |
| Benches & Interior | Bench Lumber | Clear, knot-free cedar or aspen. Smooth and splinter-free. |
| Bench Support | 2x4 framing with stainless screws. Must be sturdy enough for sitting or lying down. | |
| Accessories | Headrests, backrests, duckboards for comfort. Made from the same sauna wood. | |
| Sauna Rocks | Igneous stones designed for sauna heaters. Retain heat and withstand water splashing. | |
| Small Essentials | Thermometer & Hygrometer | Monitors sauna temperature and humidity for safe use. |
| Bucket & Ladle | Used for pouring water over sauna stones. Typically wood or stainless steel. | |
| Vent Covers | Wooden or metal vent covers to regulate airflow. | |
| Handles & Hinges | Heat-resistant metal or wood, installed on the sauna door for safety. |
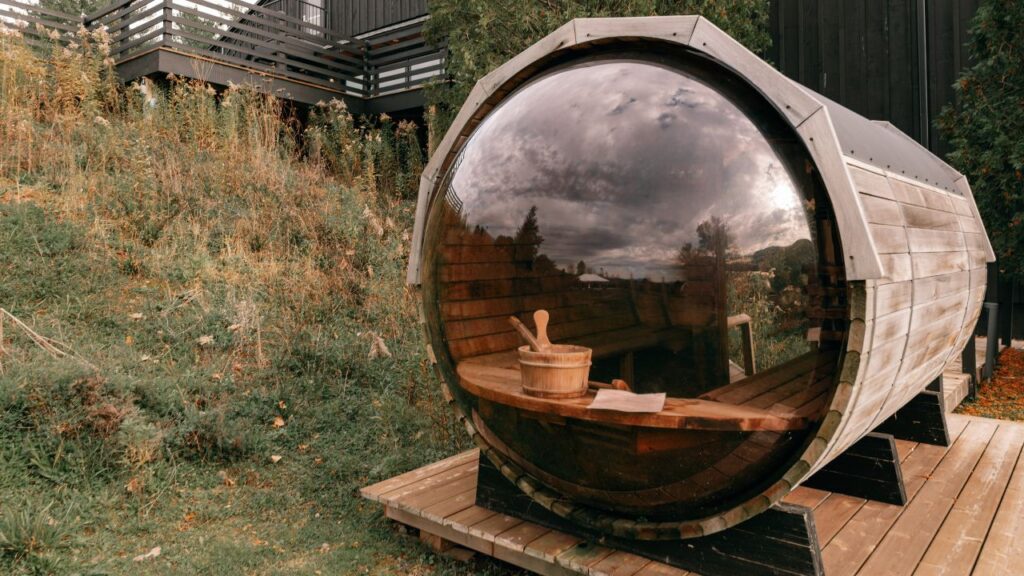
8 Basic Steps to Build Your Sauna
Once you have a solid plan, it’s time to build! Here’s an overview of the building process for a custom indoor or outdoor sauna:
1. Prepare the Space
Clear out the area where the sauna will go. For an indoor sauna, remove any existing drywall or finishes down to the wall studs so you can insulate and waterproof the area. Ensure the subfloor is solid and level. For an outdoor sauna, you may need to build a small foundation – a concrete slab or wooden deck that supports the sauna structure.
In either case, make the floor waterproof (cement board and tile are common indoors; outdoor saunas might sit on pressure-treated joists or concrete). If indoors, you might also add a floor drain or at least slope the floor slightly so water can run off easily.
2. Install Wiring (if needed)
Before closing up walls, have any electrical work done. Most electric sauna heaters require a dedicated 240V circuit. Hire a licensed electrician to run the appropriate cable and hook up a breaker for the heater – safety first. Also, have wiring installed for lights, controls, or a ventilation fan if you want one.
All electrical components should be rated for high heat and humidity. If you’re using a wood stove heater, you won’t need power for the heater, but you’ll likely still want an interior light or two. It’s much easier to put wires in place now, with open walls, than after you’ve paneled everything.
3. Insulate the Walls and Ceiling
Fit insulation batts between all wall studs and ceiling joists of the sauna enclosure. This will help the sauna heat up quickly and stay hot without wasting energy. Use R-13 to R-19 fiberglass or mineral wool insulation (depending on your wall thickness).
Don’t forget to insulate the ceiling well, since a lot of heat will rise up. If your sauna is outdoors or on a concrete slab, also consider insulating underneath or adding insulation to the floor structure.
4. Add a Vapor Barrier
Staple foil vapor barrier over the insulation on the walls and ceiling. Overlap the seams and use foil tape to seal every joint tightly. When done, the entire interior should be covered in a shiny foil layer that locks in heat and keeps moisture from seeping into the surrounding structure.
This barrier is crucial to prevent rot and moulds and to improve your sauna’s efficiency.
5. Install Interior Paneling
Now line the inside of your sauna with wood paneling. Tongue-and-groove cedar boards are the classic choice for saunas, but other untreated softwoods can work too. Nail or screw the boards to the walls and ceiling framing (preferably using stainless steel fasteners so they won’t rust) – typically you nail through the tongue of each board at an angle so the fasteners are hidden by the next board.
Ensure the boards fit snugly. Leave a small expansion gap (around 1/4 inch) at the edges where walls meet the ceiling and floor, since wood will expand when heated. You can cover those gaps later with trim. Once this step is done, you have a cozy wood-lined sauna interior! (Also, do not paint or varnish the sauna interior – you want the wood unfinished, as finishes could emit fumes in the heat.)
6. Build the Benches
Construct sturdy benches for seating. Use strong, smooth lumber (like 2×4 cedar boards) for the bench frames and surfaces. Typically you’ll have a lower bench about 18 inches high and an upper bench around 36 inches high. Mount support boards on the walls and then span the seating boards across. Space the bench slats about 1/2 inch apart to allow airflow and let water drip through.
Use rust-proof screws to assemble everything. Ensure all seating surfaces are sanded smooth (no one wants splinters while relaxing!). The benches should be very secure, as they’ll need to support people sitting or even lying on them.
7. Install the Heater and Door
Mount the sauna heater in place according to the manufacturer’s instructions. For an electric heater, this usually means attaching a metal bracket to one wall and then hanging the heater on it at the proper height. For a wood-burning stove, position it on a non-combustible base (like concrete or tile) and install the chimney piping up through the ceiling or wall. Maintain proper clearances around the heater so nothing combustible is too close – most sauna heaters include a safety guard or rail around them; use it. If not, install a wooden guard rail to prevent accidental contact. Your heater should now be wired up (by the electrician) or your stove chimney connected.
Next, install a sauna door. Sauna doors usually open outward for safety and often have a small window. Use a pre-made insulated or tempered-glass sauna door if possible. Fit the door into your door frame, ensuring it closes snugly (but it doesn’t need to be air-tight). Once the door is on, your sauna is basically complete! Add any finishing touches: put the sauna rocks on the heater (if your heater uses rocks), and set up your light fixture, bucket, ladle, and thermometer/hygrometer inside.
8. Test and Enjoy
Now it’s time to fire up your sauna for the first time. Turn on the heater (or light the stove) and watch it start heating the room. Make sure everything works properly – the heater gets hot, any lights or controls function, and there are no leaks or issues. Let the sauna warm up to a comfortable temperature and check that the vents are allowing some air flow. If all looks good, congratulations – you can start enjoying your new sauna! Step inside, relax, and savor the heat. Remember to stay hydrated and sauna safely.
(As a general guideline, keep sauna sessions moderate – many people stick to about 15 minutes at ~170°F for safety; see our guide on how hot a sauna should be and how long you should stay for more tips.)
Sauna Safety Tips
Building your sauna is a big accomplishment – now make sure you use it safely. Keep these tips in mind:
Ventilation: Always allow some fresh air in. Use the vents or simply crack the door as needed. Good airflow prevents overheating and ensures you have oxygen to breathe. An intake vent near the floor and an exhaust vent high on the opposite wall work well to circulate air.
Electrical Safety: All electrical components should be installed up to code (ideally by a professional). Use GFCI-protected circuits for the heater and lights to guard against shocks. Only use light fixtures and wiring rated for sauna conditions (high heat and humidity). If anything electrical malfunctions (e.g. lights flicker or a breaker trips), address it before using the sauna again.
Proper Materials: Use hardware that won’t corrode – stainless steel screws and nails are best so they don’t rust. Never paint or varnish the interior wood; high temperatures could cause chemicals to off-gas into the air. The natural wood is the safest (and smells great) as-is.
By following these precautions, you’ll have a safe and enjoyable sauna experience. Also, remember to keep your sauna clean and dry. Wipe benches and floor after each use and prop the door open for a while so it can air out completely. With simple upkeep, your sauna will stay enjoyable for many years.
Enjoy your new home sauna! There’s nothing quite like the soothing heat of a sauna you built yourself. Whether you use it for post-workout recovery or just to unwind on a cold evening, it’s a rewarding addition to your home. Happy sweating!
If you prefer getting a prefab or a sauna that’s already ready for assembly, you can take a look at our list of the best saunas in all types below.


